Saturday, June 22, 2013

In Lieu Of Flowers- Winter Mantel

It's winter here and the variety of wild flowers has dwindled. Luckily for me I was able to spot these berries from the road when I was driving. The tree they were growing on was quite big yet somehow I had never noticed it before. Now I wonder how I missed that POP of red! They are a perfect substitute for flowers and compliment the earthy elements I have around my home.


 I'm dying to paint this table white or at least sand it back to it's natural state. So far I am meeting resistance to the idea from the MotH so I will have to work on that!

Candles in glasses are a popular idea on pinterest lately, I added my won touch to them with mossy branches and a wee bird. Again, in lieu of flowers.


May your nest be blessed!
Lisa

Also posted to: Share the Joy Thursday

Friday, June 14, 2013

Winter Winners

 Pin this Pinterest Inspired Pin Board.


1. Found on a page entitled 'Nature Crafts for your Winter table"    I knew I had to take a look. Check out the sweet green bird!  LOVE!! The site has a tutorial for making the snowy candles too.


2. I spotted these while looking for mid winter Christmas inspiration. Being in the Southern Hemisphere with Christmas in summer the idea of a Winter Christmas is a bit of a novelty! Most of our major holidays in NZ fall outside of the cold months and mid winter Christmas celebrations have become more common. We started in out house a 2 Winters ago and started a new tradition of making orange pomanders. This site will show you  how to make these dried slices. I love them and think we might do these as well as the pomanders this year.
 Mid-Winter Christmas festival, Tauranga, NZ

A twig vase made from a coffee can has got to be a great addition to any style of decor. It's thrifty too! I have some cinnamon sticks left over from last years midwinter Christmas mulled apple juice so I am pretty keen to add them to my can..and maybe a few sweet, tiny pine cones to the bow.


4. This wonderful scene has been posted purely for inspiration! I adore the table, the owl, the books and the framed photos.  Unfortunately the link offers no further details or projects but I'm pretty sure the photo alone is enough to get the creative juices flowing!

5. When I was young my step-mother gave us pine cones and white shoe polish to make snowy cones with. I don't remember how ours looked but the memory is a warm one. This site will link you to a tutorial for a fantastic twiggy wreath and this link will take you to the fantastic Winter deco board I found it on. 


Drilling out the cavity for the candles will be a great project for my son...and I will end up with fabulous candles for my winter decoration! I love the mixed nuts spread around it too. Awesome idea! The original blogger was right when she said 'Naturally Beautiful'


Sunday, June 9, 2013

She sees sea shells. DIY Shell Candles

 Blue candles, sea shells...a perfect pairing!


I just love how these look like rock pools on the beach!


To make these pretties I used a small gas cooker and steel bowl to melt down the candles. I held the bowl just above the heat to stop it from heating too quickly and becoming a smokey mess for the chunks had melted.

I snipped the wick strings into 7 small pieces, which is how many shell candles I got from 1 standard candle. The wax sets quickly as the shells are shallow so I waited a minute or so and stood the wick where I wanted it. It only took a few seconds for it to stand by itself and then I could move onto the next shell. (I used a sharp knife to cut the hard wax away from the wicks before melting them.)

Later in the year we are having a coastal themed 16th/21st birthday party. These are going to be so pretty scattered on the tables! As the wicks are small and the wax shallow I don't expect these to burn long so I am making around 100 for 8 tables that way we can replenish them as they night goes on.  I have plans for other colours and shell types too so watch this space!

May your nest be blessed,
Lisa


Thursday, June 6, 2013

Happy Spaces


These thrifty little doily flowers made a lovely addition to my toi-toi stems! I love the natural tones and the way they surprise you when you see them hanging discreetly against the plant.
They were pretty easy to make, I simply snipped the flower from the larger doily and attached with twine like wool. Easy DIY and thrifty too:)


 Remember these bead sticks from last post? So pretty!

 I love to create these areas that make me happy to look at. They're a fantastic remedy after a stressful day and a great antidote for depression. I'm new to doing these sorts of things but thanks to pinterest I am well on my way!

 Even though it's Winter here I've been admiring summer homes this past week thanks to a Summer Homes Tour by Shabby Creek Cottage. Seriously drool worthy!

 We don't own the home we live in so major DIY projects are a no-no so instead I focus on the small spaces which are mine. I am making intentional displays that change frequently, dependent on what I have found in the second hand shops and what flowers I have. Everything here (except the purple flowers)  is either gifted, second hand or free. What's not to love about that?
 A sweet owl, two nests and romantic heart...
 An earthy pot that is nice to touch as well as look at...
 This heart was a lucky find!

I hope this post inspires you as I have been inspired by others.

Live well, love what you have and create happy spaces regardless of your budget or housing constraints...

May your nest be blessed,
Lisa 


Also posted to:


Tuesday, June 4, 2013

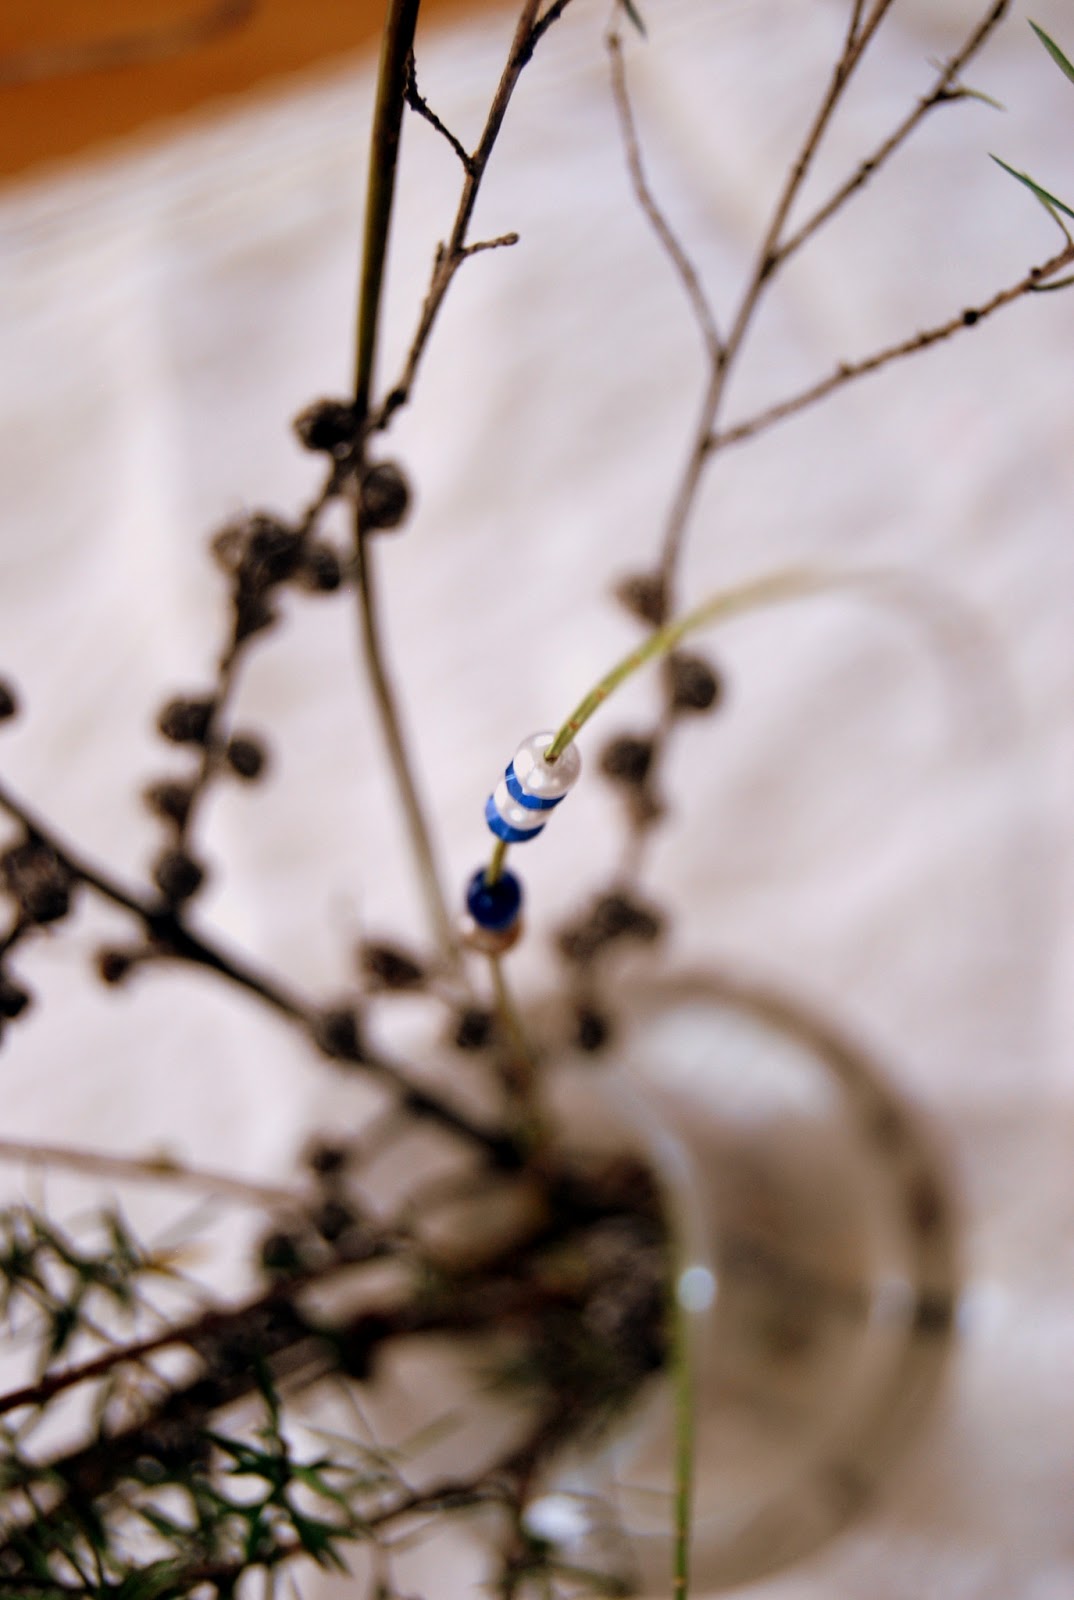
DIY Bead Sticks for your flowers.

I used ladder fern. I found it growing wild along the roadside. It's already done a week in a vase with other wild flowers and now that it's looking a bit sad I thought I would cheer it up a little!
Simply pinch the stem between your thumb and fingers and run them along. The little leaves come off easily. 

 A op-shop bracelet, I think this one cost 50c. I simply snipped the elastic and re-used the beads. You can use any beads you want of course!

 It doesn't get any easier than this! Thread the sticks with your beads then stand around taking way to many photos because you love them so much!


The ladder fern intact in the vase below  with the bead sticks. These will keep me smiling until I have new flowers to add colour. Or I could leave them like this and change the bead colours to suit what ever my mood dictates!

 In my part of the globe it's officially winter although autumn hasn't left yet. There's still flushes of red and yellow among the naked branches. Slowly my displays will evolve with the season so I decided to make some winter bead sticks to compliment the natural shape of these Manuka branches. 


I am in love!


 There is only one problem with these DIY bead sticks...they're too quick to make! In no time at all you will have a bunch of them and will be looking for excuses to make more!

You've been warned!! Lol

May your nest be blessed,
Lisa


Also pinned to:


Thursday, April 18, 2013

Nail Box, Planter Box

Feeling inspired by vertical gardens and other such things I've seen in Pinterest lately I decided to revamp a nail box I had. It's been sitting on my porch holding a nest and nothing else for ever. What a shame! Succulents and a wild fern were plucked from else where on our section and the bird came from else where in my house.


 .


 The two little potted plants were my only purchase. Everything else I already had.
 

 I love the writing on the box, graffiti like next to the natural features.
Actually, I love this whole box!

I hope if you are feeling inspired to make a little something for the garden or porch I hope you will indulge yourself. I am so happy with this planter box and it was the easiest DIY project yet!

Monday, April 15, 2013

It's Autumn,It's Wet, It's time for Soup!

Carrot Soups

What's not to love about carrot soup? 
It's a great choice nutritionally
It's frugal
It's quick
It's satisfying
It's easy to make
It's versatile
AND
It tastes GREAT!

Thanks to my own version of carrot soup  I had 6 vegetables for lunch and there's enough left over for at least 3 more servings. I don't know about you but I don't usually eat 6 different vegetables at lunch time!

Here's my version: 5 carrots, 1 red capsicum, 1/4 cauliflower, 1large shucked corn cob,  1 medium potato and 1 medium red kumara, cooked, blended with stock and water..seasoned to taste.

I cruised pinterest for a while before deciding to adapt a recipe to better suit what ingredients I have but above it a collage of some other tempting carrot soups....

Photo 1
Simple Carrot Soup, one small change and it will be vegan friendly too.
Photo 2
Cream of Carrot Soup, not as fat free as the others but all things in moderation I say!
Photo 3
German Carrot Soup I can't wait to try this one. It doesn't use stock so  a good one for a last minute soup!
Photo 4
Roasted Carrot Soup contains ginger for added oomph! 
Photo 5
Carrot and Kumara (sweet potato) Soup This site also contains a variation of this recipe using maple syrup and cinnamon...
Photo 6
Carrot and Cauliflower soup. Recipe uses a whole head of cauliflower and not a drop of cheese sauce in sight!


So, who's hungry?

May your nest be blessed!

Post also linked to: Hello Monday


Thursday, April 4, 2013

Study Star- Revision Idea


 This is a 'study star' I made to help my daughter revise her work for an upcoming science exam. (I made it as she has a physical disability making writing laborious and also resulting in individual notes flying everywhere!) I'm sharing in case there are others, like me who have had trouble finding interesting and useful ways of revising a lot of written information!

 She's studying the human digestive system so I started with the mouth, teeth and tongue and saliva. I listed all the enzymes and other key things involved in each stage then moved on to moving food. This covered the oesophagus (esophagus in American spelling I believe...) peristalsis and so on. 

 The 4 pointed star has 3 'pages' per point giving 12 spaces to order and organize all the facts she will need up to the small intestine.  It's easily transported too so she can do a quick cram on the way to the exam :)


To make your own study star simple cut 2 large squares the same size and one smaller (cut more squares for more pages/flaps.) Fold the corners of the square into the middle so the points touch. (See pic one) repeat with all the layers and glue JUST the back of each square (when unfolded it's easy to see the fold lines that make a square) onto the front of the square behind it...
Write the details and personalise it last, you will be surprised how much information these study stars will hold!

May your nest be blessed,
Lisa