Showing posts with label DIY. Show all posts

Tuesday, June 4, 2013

DIY Bead Sticks for your flowers.

I used ladder fern. I found it growing wild along the roadside. It's already done a week in a vase with other wild flowers and now that it's looking a bit sad I thought I would cheer it up a little!
Simply pinch the stem between your thumb and fingers and run them along. The little leaves come off easily. 

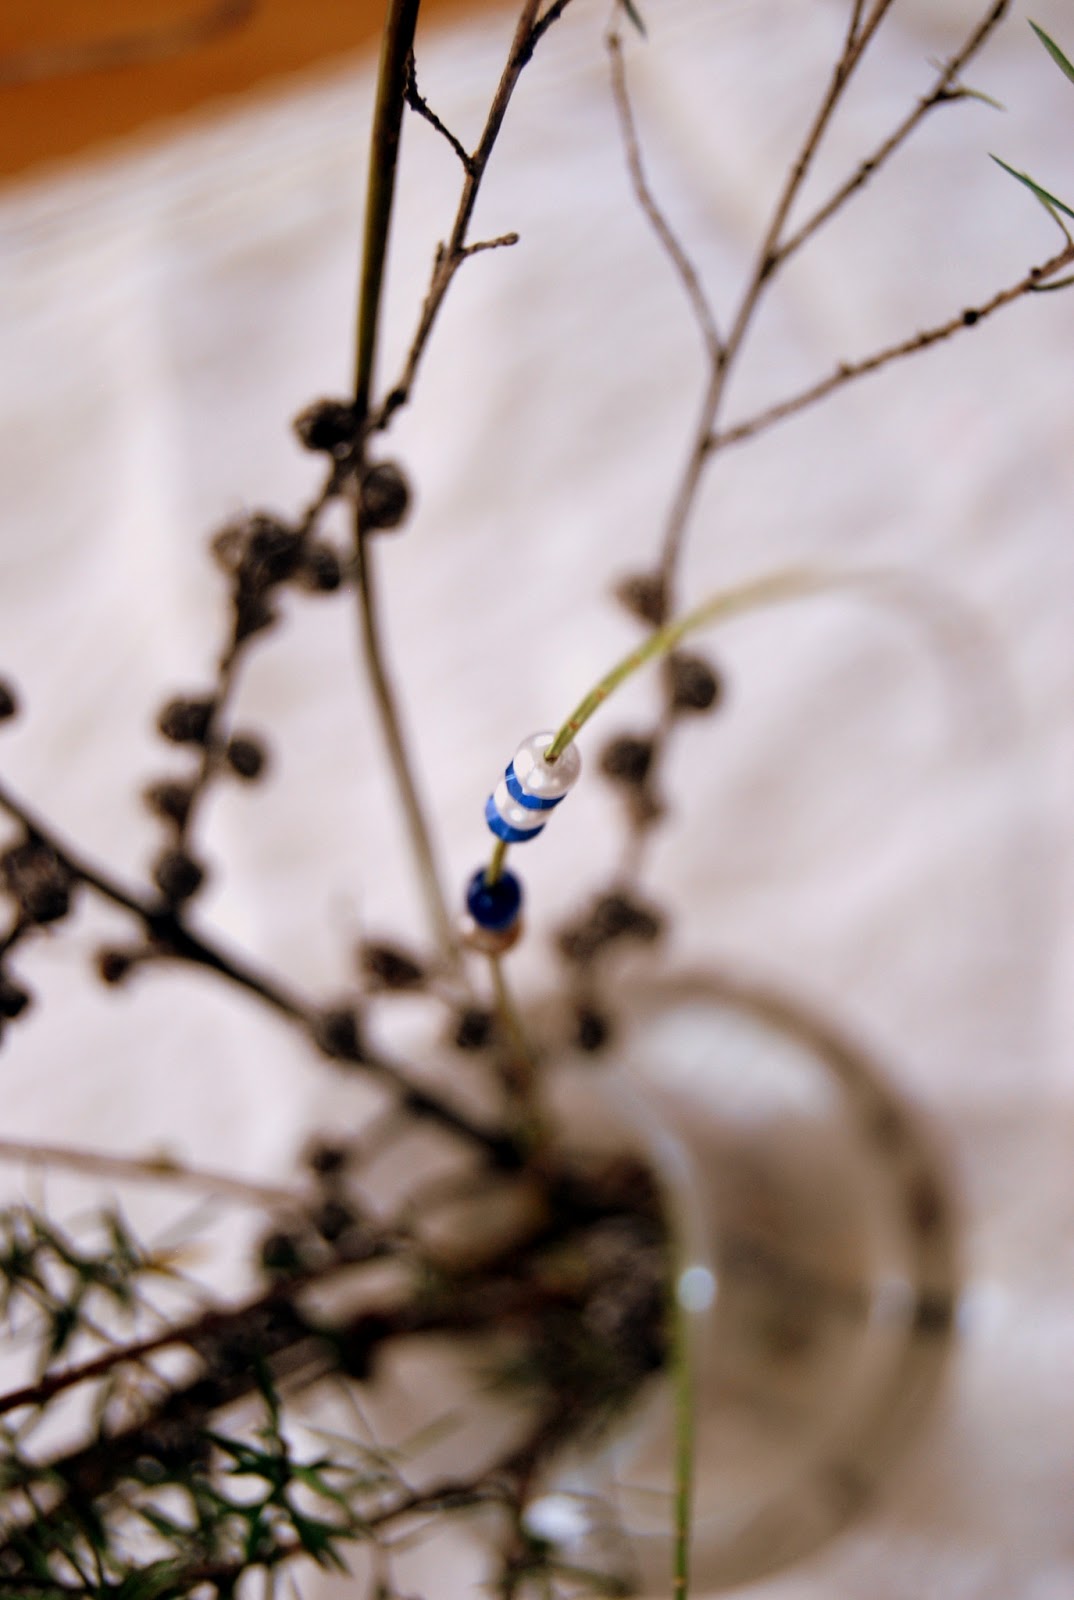
 A op-shop bracelet, I think this one cost 50c. I simply snipped the elastic and re-used the beads. You can use any beads you want of course!

 It doesn't get any easier than this! Thread the sticks with your beads then stand around taking way to many photos because you love them so much!


The ladder fern intact in the vase below  with the bead sticks. These will keep me smiling until I have new flowers to add colour. Or I could leave them like this and change the bead colours to suit what ever my mood dictates!

 In my part of the globe it's officially winter although autumn hasn't left yet. There's still flushes of red and yellow among the naked branches. Slowly my displays will evolve with the season so I decided to make some winter bead sticks to compliment the natural shape of these Manuka branches. 


I am in love!


 There is only one problem with these DIY bead sticks...they're too quick to make! In no time at all you will have a bunch of them and will be looking for excuses to make more!

You've been warned!! Lol

May your nest be blessed,
Lisa


Also pinned to:


Tuesday, January 8, 2013

Page Keepers- Rustic Nests.


 I made these rustic nests page keepers from recycled fabric,wide elastic and beads. Most of my beads were orginally part of  necklaces that I've found at second hand shops.The elastic wraps around the book acting as both a book mark and pocket to hold notes and other papers.  How handy is that?


 I made the nest from a old crocheted doily. To make you own nest simply cut a circular piece from the doily and then long stitch around it to gather it loosely. I started at the top and worked my way down. As you sew you can stitch bits of fluffy scraps to fill your nest. It all depends on the look you want.

Once my nest was finished I added beads.  Be careful to always sew through to and from the bottom of your nest so the sides don't give your stitching away!

When you nest is complete gather up a small 'posey' of scraps and sew together in a way that you like. Try to stitch them together where you will place your nest...it will hide the stitching. You can add anything to your posy- lace, ribbon, chain, mesh etc.You can also sew little beads or buttons on the fabric. If your posy is too floppy for your liking adding a bead or button like in the photo below will help weight it. 


Take a second scrap of doily, lacy material or similar and attach your completed nest/posy embellishment to the elastic band. The doilly should be longer and slightly wider than your posy.  My elastic was found in a second hand store (thrift, op shop.) Hopefully you have been lucky enough find some there too! How much you need depends on the size of your book. Generally you cut it the length of your book doubled plus an extra quater to allow it room to stretch. L x2 + 1/4 = right length!
 As you can see there aren't any rules to what you put on the page keeper. You may like to ditch the nest all together and add a big, fancy heart, scrabble tiles or what ever else takes your fancy!


Not only do I think these nest page keepers are delightful I can also vouch for the fact that they are easily made from scraps, in front of the tv and on a budget. 

If you make one I would love you to share it with me. Have fun and may you nest be blessed!