Tuesday, June 4, 2013

DIY Bead Sticks for your flowers.

I used ladder fern. I found it growing wild along the roadside. It's already done a week in a vase with other wild flowers and now that it's looking a bit sad I thought I would cheer it up a little!
Simply pinch the stem between your thumb and fingers and run them along. The little leaves come off easily. 

 A op-shop bracelet, I think this one cost 50c. I simply snipped the elastic and re-used the beads. You can use any beads you want of course!

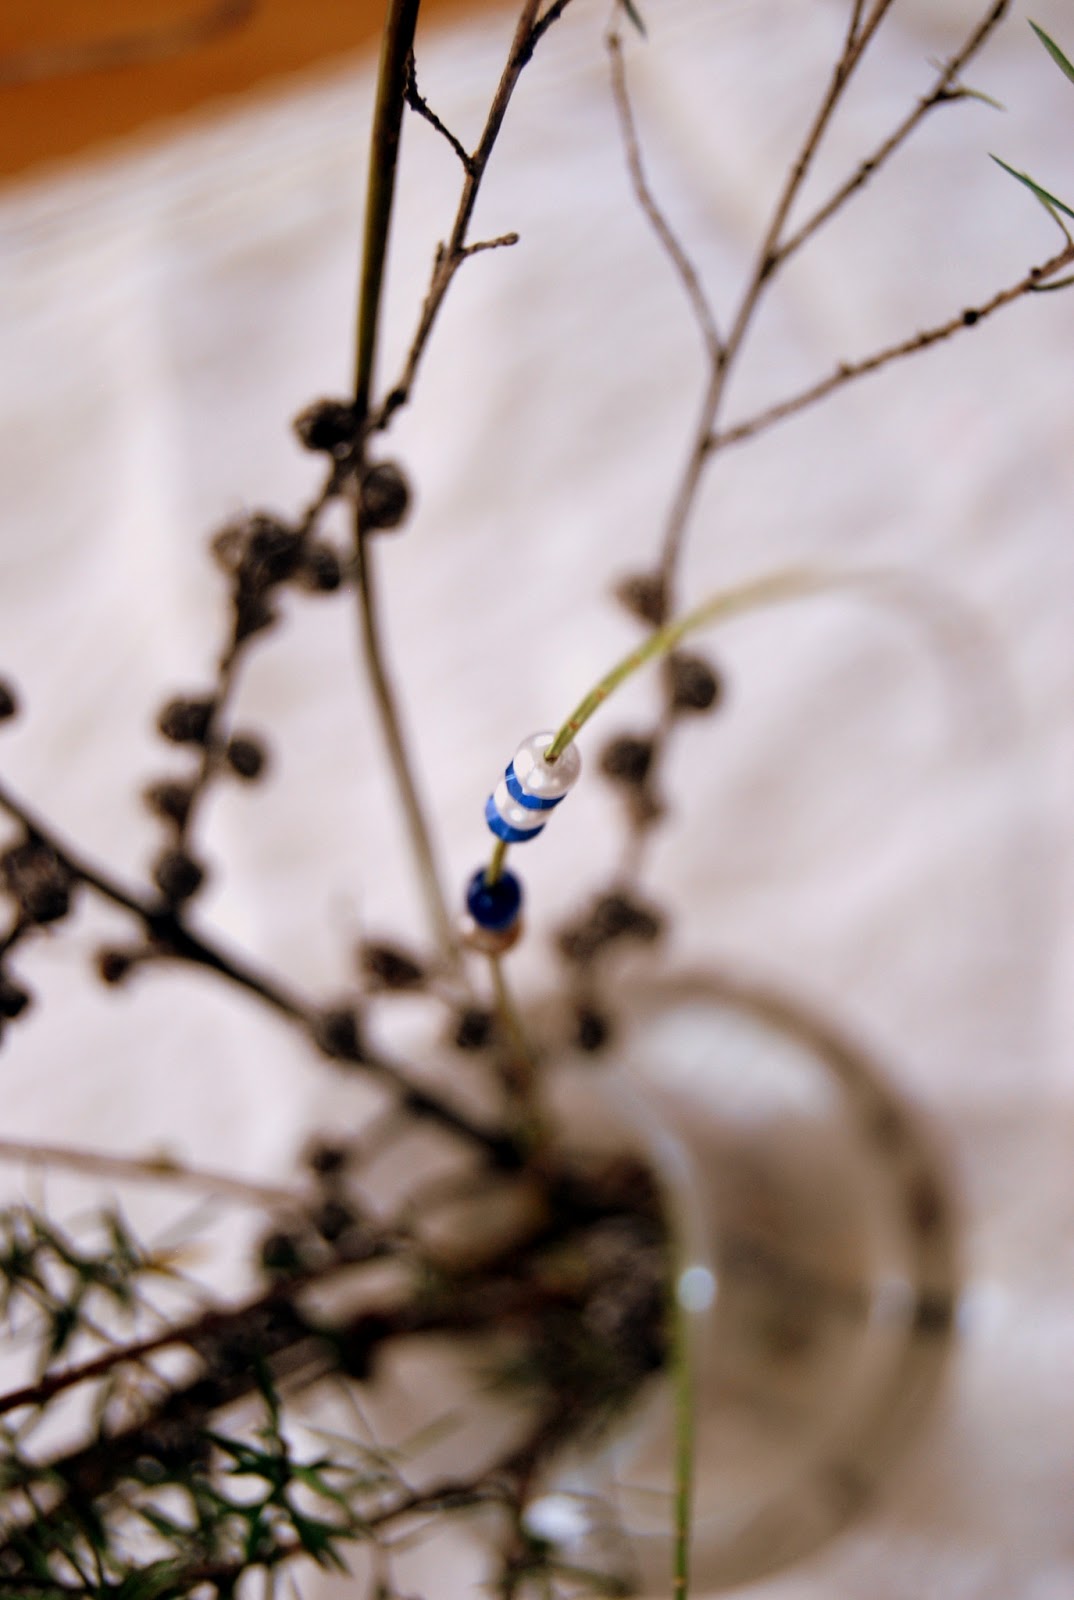
 It doesn't get any easier than this! Thread the sticks with your beads then stand around taking way to many photos because you love them so much!


The ladder fern intact in the vase below  with the bead sticks. These will keep me smiling until I have new flowers to add colour. Or I could leave them like this and change the bead colours to suit what ever my mood dictates!

 In my part of the globe it's officially winter although autumn hasn't left yet. There's still flushes of red and yellow among the naked branches. Slowly my displays will evolve with the season so I decided to make some winter bead sticks to compliment the natural shape of these Manuka branches. 


I am in love!


 There is only one problem with these DIY bead sticks...they're too quick to make! In no time at all you will have a bunch of them and will be looking for excuses to make more!

You've been warned!! Lol

May your nest be blessed,
Lisa


Also pinned to:


Thursday, April 18, 2013

Nail Box, Planter Box

Feeling inspired by vertical gardens and other such things I've seen in Pinterest lately I decided to revamp a nail box I had. It's been sitting on my porch holding a nest and nothing else for ever. What a shame! Succulents and a wild fern were plucked from else where on our section and the bird came from else where in my house.


 .


 The two little potted plants were my only purchase. Everything else I already had.
 

 I love the writing on the box, graffiti like next to the natural features.
Actually, I love this whole box!

I hope if you are feeling inspired to make a little something for the garden or porch I hope you will indulge yourself. I am so happy with this planter box and it was the easiest DIY project yet!

Monday, April 15, 2013

It's Autumn,It's Wet, It's time for Soup!

Carrot Soups

What's not to love about carrot soup? 
It's a great choice nutritionally
It's frugal
It's quick
It's satisfying
It's easy to make
It's versatile
AND
It tastes GREAT!

Thanks to my own version of carrot soup  I had 6 vegetables for lunch and there's enough left over for at least 3 more servings. I don't know about you but I don't usually eat 6 different vegetables at lunch time!

Here's my version: 5 carrots, 1 red capsicum, 1/4 cauliflower, 1large shucked corn cob,  1 medium potato and 1 medium red kumara, cooked, blended with stock and water..seasoned to taste.

I cruised pinterest for a while before deciding to adapt a recipe to better suit what ingredients I have but above it a collage of some other tempting carrot soups....

Photo 1
Simple Carrot Soup, one small change and it will be vegan friendly too.
Photo 2
Cream of Carrot Soup, not as fat free as the others but all things in moderation I say!
Photo 3
German Carrot Soup I can't wait to try this one. It doesn't use stock so  a good one for a last minute soup!
Photo 4
Roasted Carrot Soup contains ginger for added oomph! 
Photo 5
Carrot and Kumara (sweet potato) Soup This site also contains a variation of this recipe using maple syrup and cinnamon...
Photo 6
Carrot and Cauliflower soup. Recipe uses a whole head of cauliflower and not a drop of cheese sauce in sight!


So, who's hungry?

May your nest be blessed!

Post also linked to: Hello Monday


Thursday, April 4, 2013

Study Star- Revision Idea


 This is a 'study star' I made to help my daughter revise her work for an upcoming science exam. (I made it as she has a physical disability making writing laborious and also resulting in individual notes flying everywhere!) I'm sharing in case there are others, like me who have had trouble finding interesting and useful ways of revising a lot of written information!

 She's studying the human digestive system so I started with the mouth, teeth and tongue and saliva. I listed all the enzymes and other key things involved in each stage then moved on to moving food. This covered the oesophagus (esophagus in American spelling I believe...) peristalsis and so on. 

 The 4 pointed star has 3 'pages' per point giving 12 spaces to order and organize all the facts she will need up to the small intestine.  It's easily transported too so she can do a quick cram on the way to the exam :)


To make your own study star simple cut 2 large squares the same size and one smaller (cut more squares for more pages/flaps.) Fold the corners of the square into the middle so the points touch. (See pic one) repeat with all the layers and glue JUST the back of each square (when unfolded it's easy to see the fold lines that make a square) onto the front of the square behind it...
Write the details and personalise it last, you will be surprised how much information these study stars will hold!

May your nest be blessed,
Lisa

Thursday, March 28, 2013

Cupcakes, Chemical Change and Pepsin Enzymes!

Yes it is Easter, Easter and more Easter at our house...but most of all...HAPPY Easter to you all!
I hope you have a hot cross bun on the ready with a nice cuppa as you visit today:)

 Above: Our table display, it's not much but I like it's simplicity.
Below: Easter Cupcakes!
 To make these yourself mix and bake your preferred cupcake mix. When cool drizzle over melted white chocolate and place on top a Easter themed chocolate. I made the chocolates using choc molds. One thing I like about these is that by changing the colours and chocolates you can make these for adults of children without any extra expense or hassle.One batch two purposes!
 You can see more of this Easter embellishment I made using recycled and scrap materials on my other blog if it takes your fancy!
 When you teach at home you quickly learn to utilize all opportunities! I wanted a Easter decoration for the window and my son needed to review chemical change...add the two together and you have a burning/chemical change/products Easter egg!

 Did you know carbon glows yellow when it is heated? The yellow part of a flame contains carbon, carbon dioxide and water. Grey in the flame is unburnt vapors and blue is complete burning with carbon dioxide and water present.

 We produced black carbon (soot) by putting tin foil in the yellow part of the flame. 
A change that produces new substances is called CHEMICAL CHANGE. The substance produced by chemical change is called a PRODUCT. In our case Carbon which we used to make these adorable and funny bunnies. Yes my son did put a bunnie in a pot and shoot one out of a canon....BOYS!
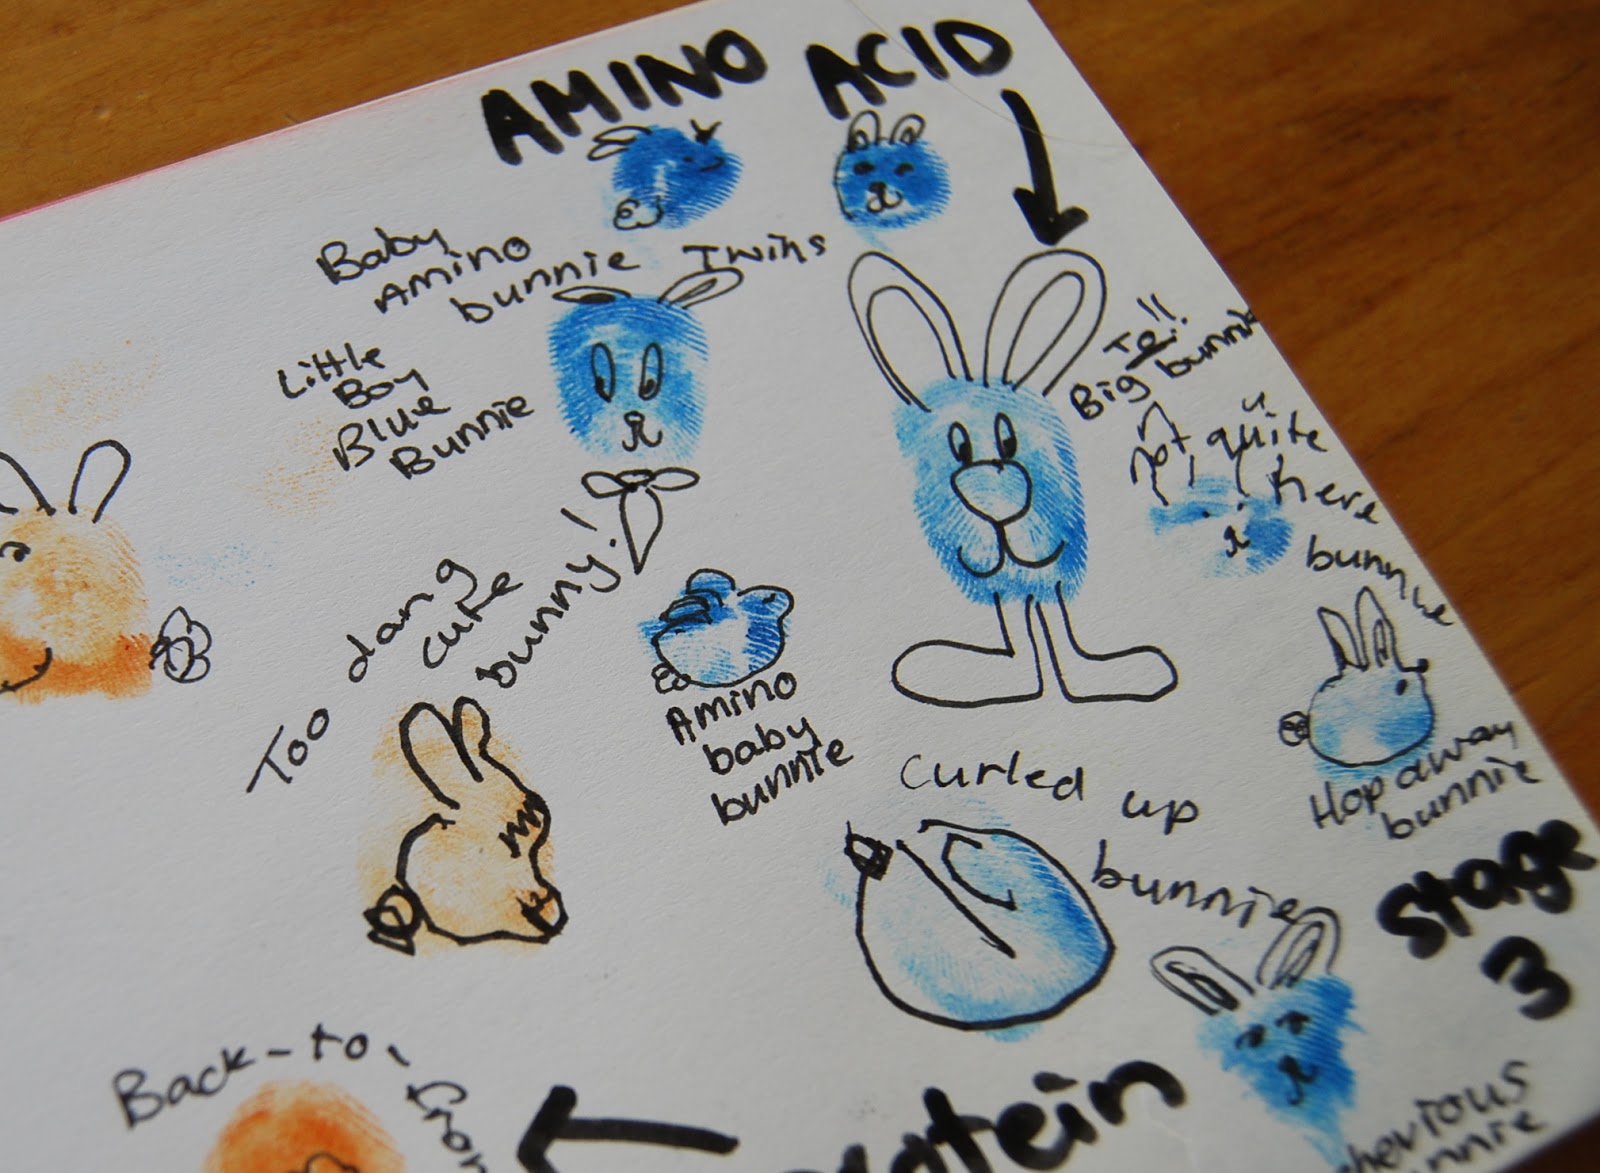
 My daughter is studying the digestive system as part of her NCEA science course. Not to be left out she created a Easter Egg showing the break PEPSIN ENZYME breaking down PROTEIN MOLECULES.


 Eventually the protein is broken down so small it can pass into the blood stream (as AMINO ACIDS)
 Pepsin bunnies...check out Little Miss Cute Bunnie and Big Pepsin.

 Smaller protein molecules...unfortunately I forgot to photograph the even smaller bunnies in orange!
 Baby blue Amino Acid Bunnies, next to Too Dang Cute Bunnie from the protein stage...
Can you tell we had fun??

May your nest be blessed!
Lisa

Also linked to:
Share the Joy 

Monday, March 25, 2013

Science Fun 5.Digestive System.

 My daughters gummy snake digestive system. 
We put tracing paper (lunch wrap) over top of a poster and used it as a guide.
Then using the poster and book as a guide she typed labels for each part of the digestive system.


It's pretty cool when after the lesson you get to digest it too!


May your nest be blessed,
Lisa

Tuesday, March 19, 2013

Science Fun 4: Transpiration and Photosynthesis

 Today we learned about stomata and photosynthesis. The book we are studying looks at how plants live, what processes must take place and why. Transpiration (involving stomata) and photosynthesis are just two of these processes.
 After the book work I decided we should follow up with some fun, hands-on work to really cement what we had learned so this is what we made.
Above: Drawing on the icing lines, turns out he's pretty good with an icing bag!  Conveniently our biscuits also had holes which represented stomata.

The process of transpiration is similar to human's sweating, it is the release of a substance through pores. In the case of plants the pores are called 'stomata' and they are located on the under side of the leaf. Also, the leaves aren't sweating they are breathing.
Carbon Dioxide IN
Oxygen OUT
(The opposite of the exchange that takes place when we breathe.)

This diagram shows both the process of transpiration and photosynthesis.
Photosynthesis is the production of energy (carbohydrates.)
Not all plants do this with the entire leaf but in out diagram it does. We used the image below to make ours.


What a great way to learn! Not only will it be remembered it was thrifty, fun and made me feel like it was the start of spring here and not the start of autumn.


As always, may your nest be blessed.
Lisa


This post is also linked to the French Country Cottage SPRING PARTY. See other entries here.

Saturday, March 16, 2013

Ice-cream Party!!

 Even an ice-cream party can have healthy ice-cream themed treats. Popcorn cones using home popped and flavored corn and packed into a cone were a hit with the kids. I was rapt with how much like ice-cream these looked!

 Ice-creams made from gluten free marshmallows, melted chocolate and sprinkles. Sweet treat without a huge amount of sugar:)

The cake had to be ice-cream themed too of course! It moved during travel before I took the photo but you can see where I was going with this! The cones needed to be cut slightly to fit the first cupcake in and the icing disguised the gap between the top of the cone and the cupcake. Other than that this was an easy cake and for once we weren't up past midnight wrestling with icing and tricky designs!

Happy ST PATRICK'S DAY everyone and as always,
May your nest be blessed!